How to insert images into a post
(updated guide)
Variant 1: Using imgc BBCode
If you have uploaded the image to the Spectrum's gallery for example, you can use the direct link from the first field (see second paragraph of variant 2) with the
imgc BBCode.
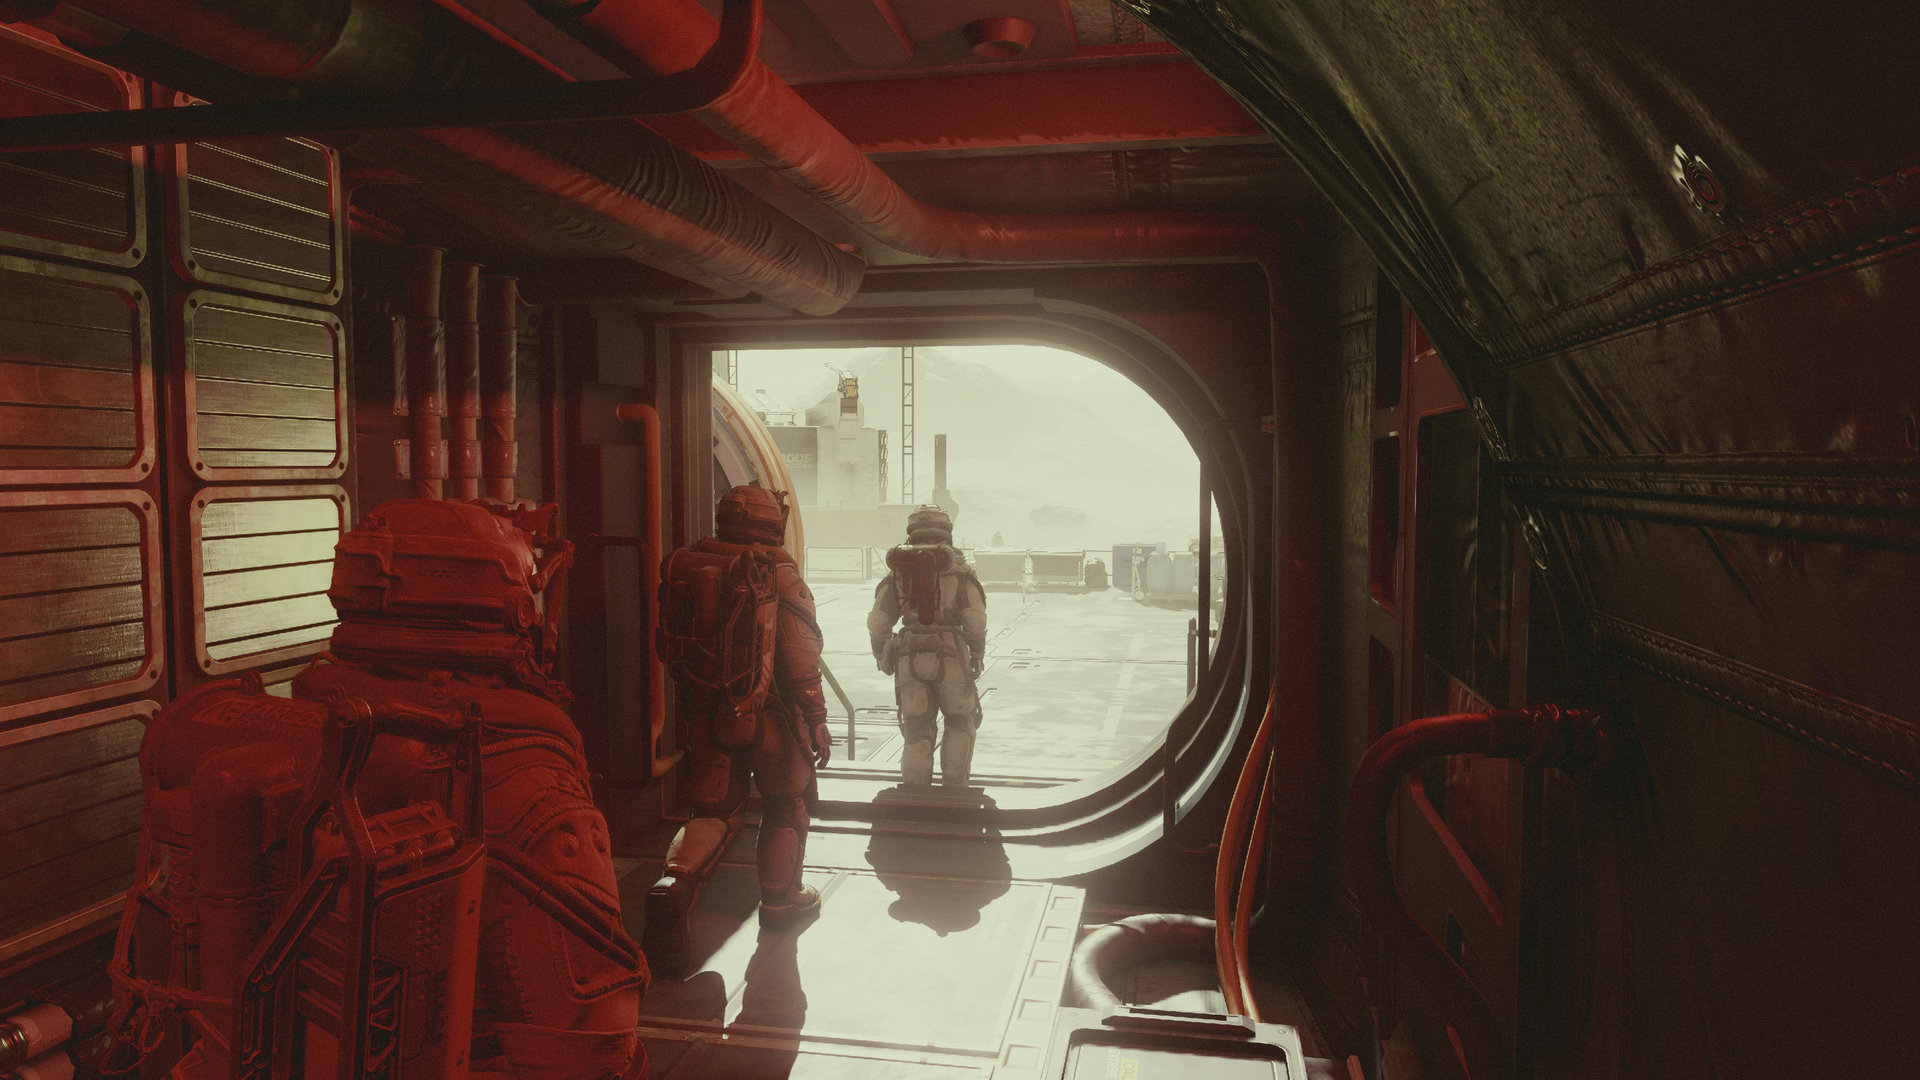
Example this image from the public Starfield gallery
Sample BBCode:
Code: Select all
[imgc=1000]https://modding-on-the-spectrum.com/app.php/gallery/image/74/medium[/imgc]
The number after "imgc=" stands for the maximum image width in pixels.
If you want to display the larger version of the image, replace "medium" with "source"
Code: Select all
[imgc=1000]https://modding-on-the-spectrum.com/app.php/gallery/image/74/source[/imgc]
The sample BBCode displays as (the source version):

The imgc BBCode works with image direct links from other servers like Nexus Mods or any image hosting service (
more information).
Variant 2: Uploading as post attachment
Switch to the Attachments tab below the Preview and Submit buttons, click on the Add files button (max. file size: 1MB*), select your screenshot and click on open. After the upload is completed, click on Place Inline, which will insert the screenshot as thumbnail.
Example screenshot uploaded as attachment
* If your screenshot is too large, you can reduce the file size with
RIOT (Radical Image Optimization Tool) for example
Variant 3: Uploading to the Gallery and using the corresponding BBCode
Upload the screenshot to the Miscellaneous, the Starfield - Public Gallery (if it's a Starfield screenshot) or your personal user album (go to User Control Panel > "Gallery" tab).
Go to the uploaded image. There are three fields at the bottom. The first one contains the direct link, the second one and the third the image BBCode for inserting the image into the post. It doesn't matter if you choose the second or the third one - clicking on the inserted image will lead to the image's page in the gallery. If you want that the image should open in a lightbox when clicking on it, choose variant 1 or variant 2.
 Modding on the Spectrum